


Everything You Need to Know About Beeswax Wraps — A Practical Guide
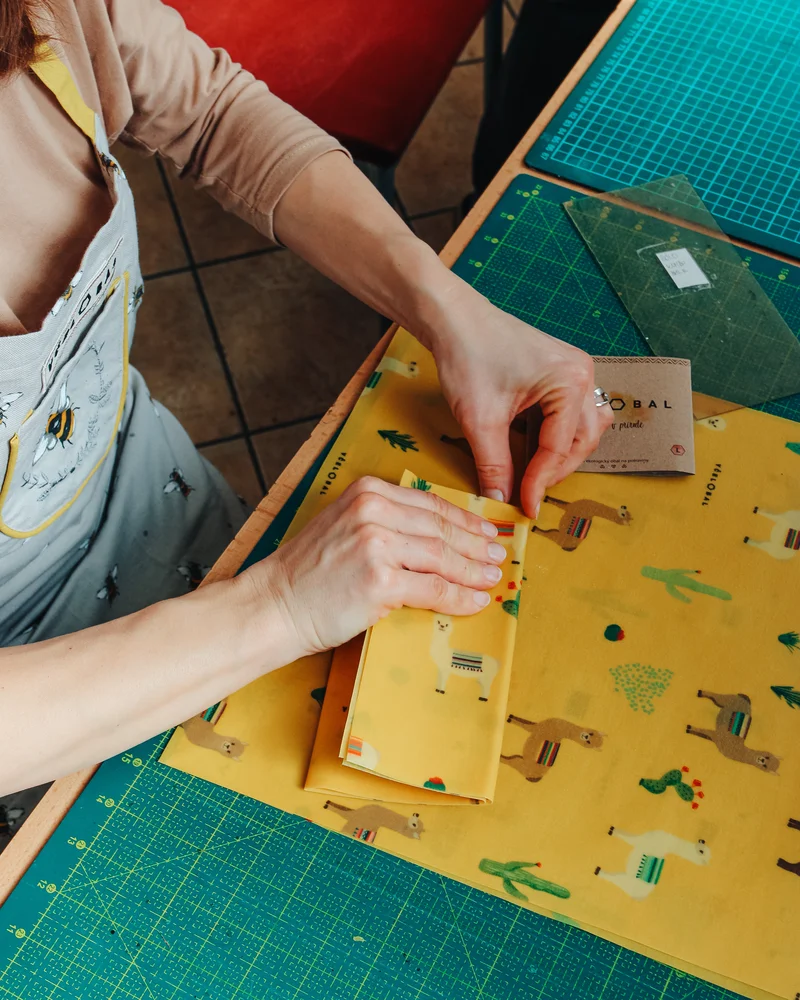
Looking for a way to keep food fresh without unnecessary plastic? Beeswax wraps are a proven eco-friendly alternative to cling film and plastic bags. This guide covers everything you need — from choosing the right wrap to using and caring for it.
1. Introduction: why beeswax wraps and how they work
Why replace plastic
Plastic film and bags are used for minutes but take centuries to break down. Beeswax wraps do the same job — they keep food fresh — and last up to a year. At the end of their life they go into the compost, not into nature. And a bonus: they release no unwanted substances into your food.
What a beeswax wrap is made of
A good beeswax wrap has four ingredients, each with its own purpose:
- Cotton fabric — a sturdy base that holds its shape
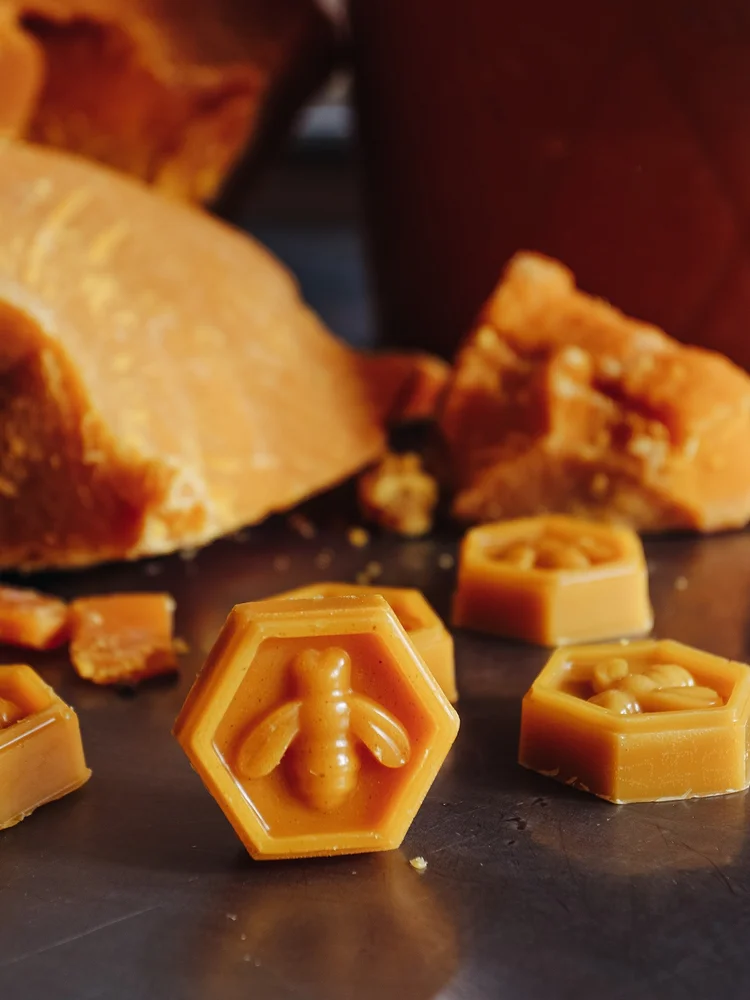
- Beeswax — naturally antibacterial, forms a protective layer
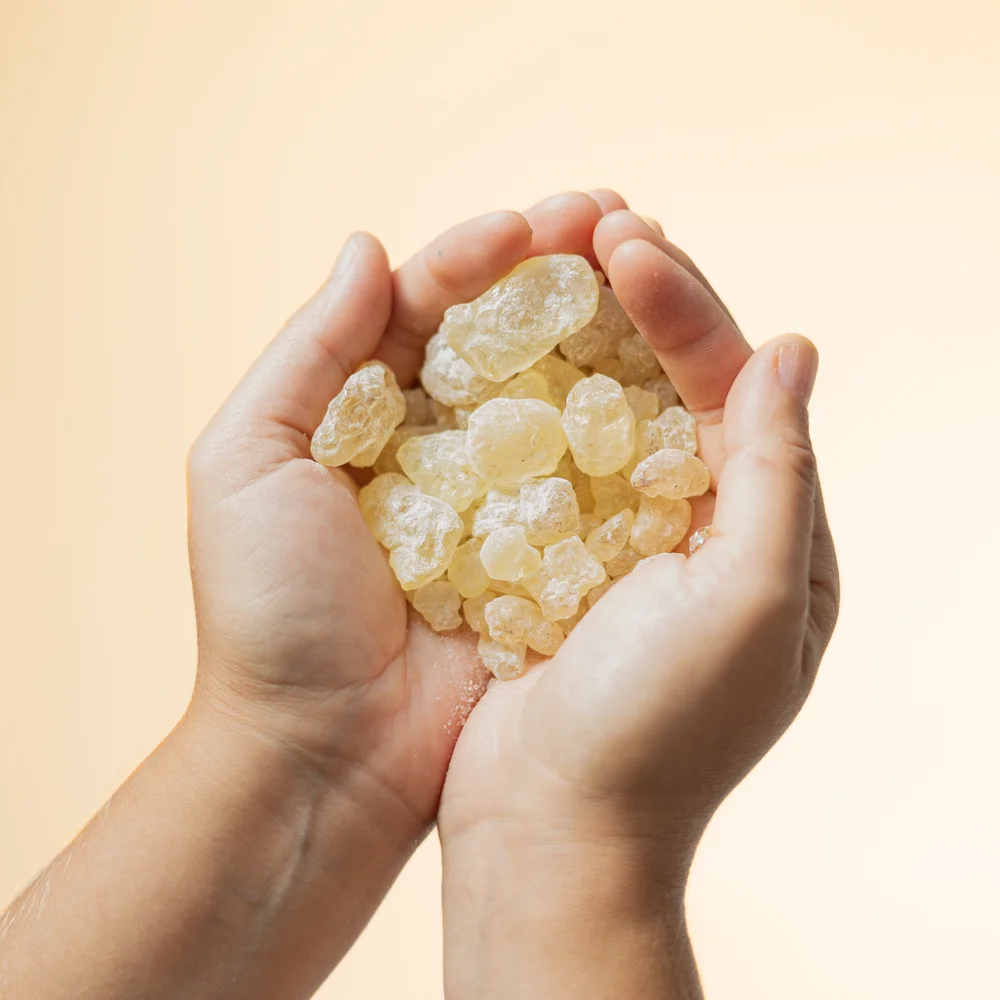
- Tree resin — provides the cling and grip
- Plant oil (organic rapeseed) — adds flexibility and prevents cracking
The wax forms a barrier and has a mild antimicrobial effect. The resin adds stickiness and significantly boosts the antibacterial and antifungal properties. Together they create an environment where bacteria and mould multiply far more slowly than in a plastic bag or in open air.
What to look for when buying
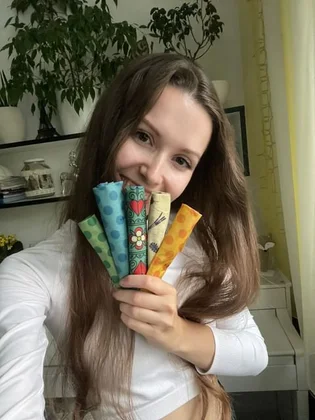
You can recognise a quality beeswax wrap by its good cling at room temperature, sturdy cotton fabric and pleasant scent. Cheap wraps from unverified sources (online marketplaces, Temu, etc.) often lack food-contact certification — you have no idea which chemicals are in the coating, the resin layer or the dyes. Better not to use them on food. Waxopack beeswax wraps are certified for direct food contact, and their ingredients are tested and safe.
2. Choosing and getting started
How to choose the right size
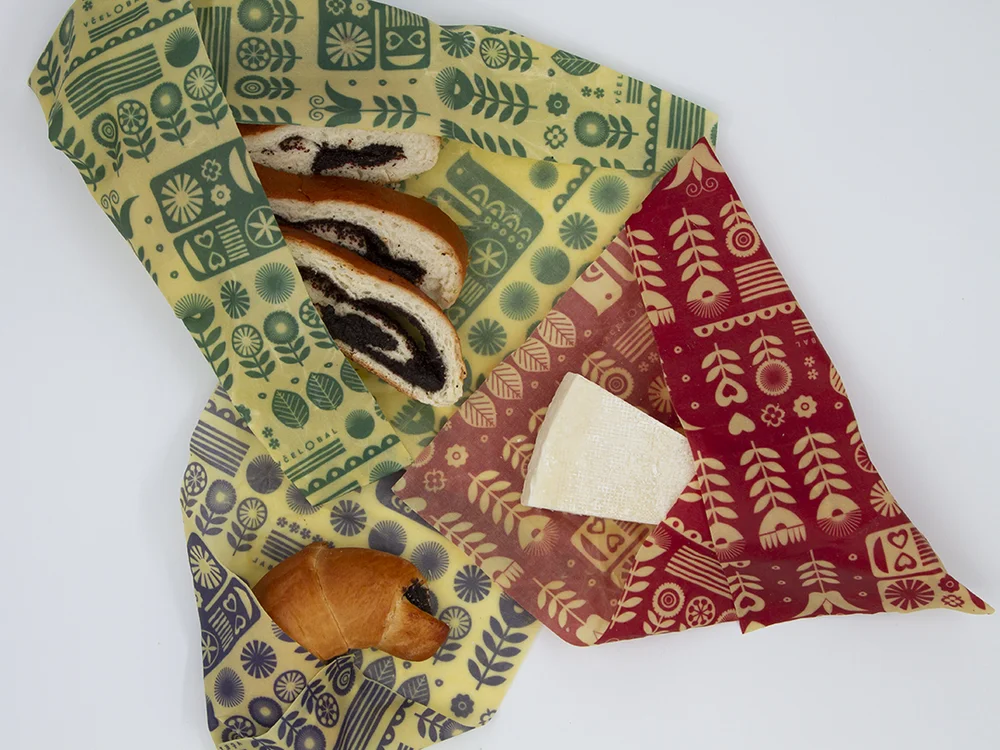
- S (small) — half a lemon or avocado, small leftovers, jars
- M (medium) — sandwiches, cheese, a bowl of leftovers
- L (large) — a whole head of lettuce, a loaf of bread, a large bowl
- XL (extra large) — big bowls, covering larger containers, a tray bake
When to choose a beeswax bag
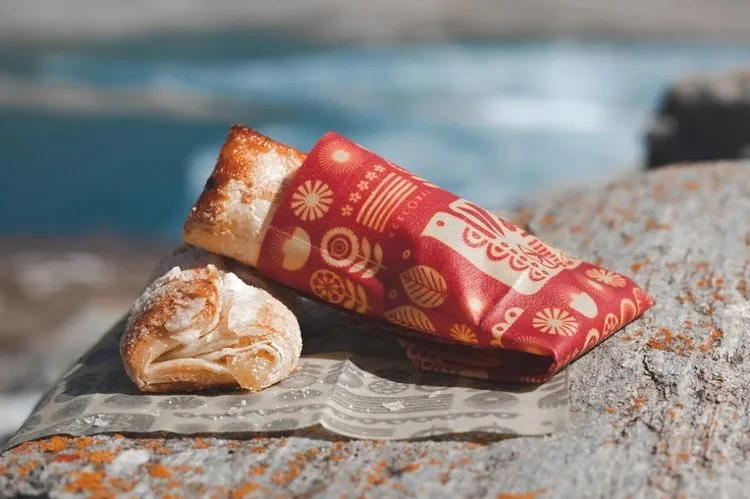
A bag is ideal when you need to wrap something whole without folding the edges: a loaf of bread, pastries, a bunch of carrots or herbs. A bag protects from all sides and is easier to store in the fridge.
3. What to wrap and how
Suitable foods
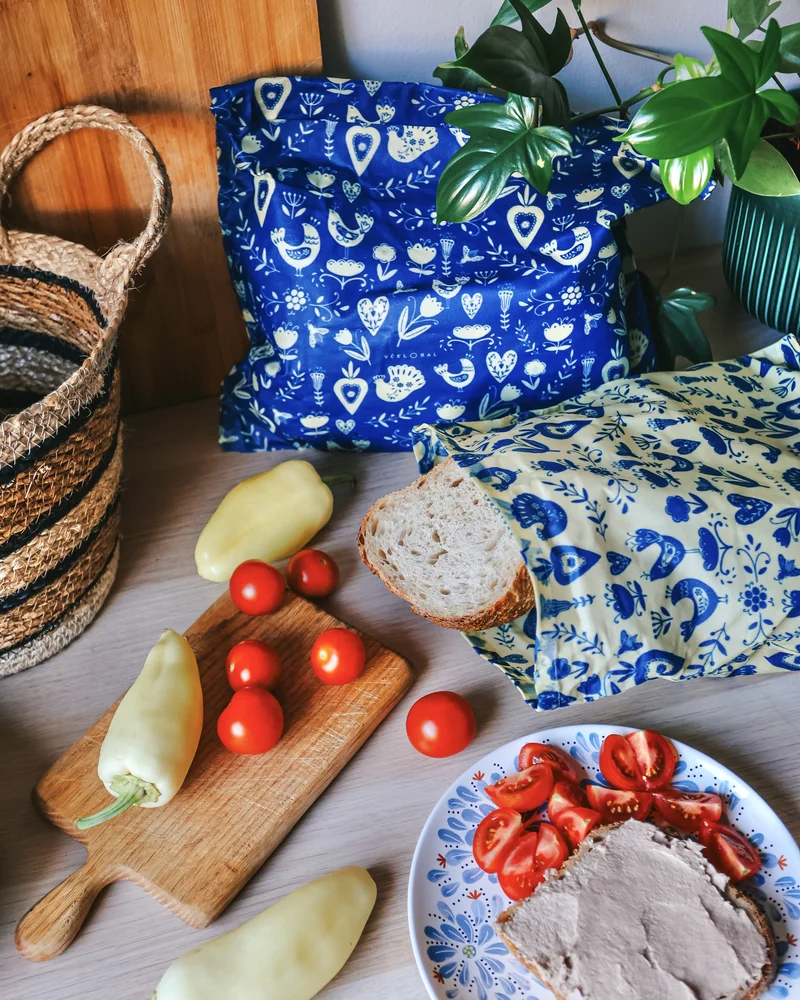
- Bread and pastries (stay fresh and don’t dry out)
- Cheese (the wax lets it gently “breathe”, unlike plastic)
- Fruit and vegetables (halves, leftovers, chopped veg)
- Herbs (ideally in a bag or covered)
- Sandwiches and snacks for school or work

Do not wrap:
- Raw meat and fish (risk of contamination)
- Hot food (the wax will melt)
- Also keep away from open flames, dishwashers, washing machines and radiators
Storing in the fridge and freezer
In the fridge the wax firms up and the wrap holds its shape — exactly what you want. In the freezer you can use the wrap for short-term freezing (herbs, berries), but when you take it out, wait until it softens — bending a frozen wrap cracks the wax layer.
Smells and flavours — what if I wrap an onion?
Beeswax absorbs odours slightly. Strongly aromatic foods (onion, garlic) can leave a scent behind. The fix: dedicate one specific wrap to strong-smelling foods, or put them in a glass container and cover it with a wrap (no direct contact).
4. Care and troubleshooting
How to clean a beeswax wrap
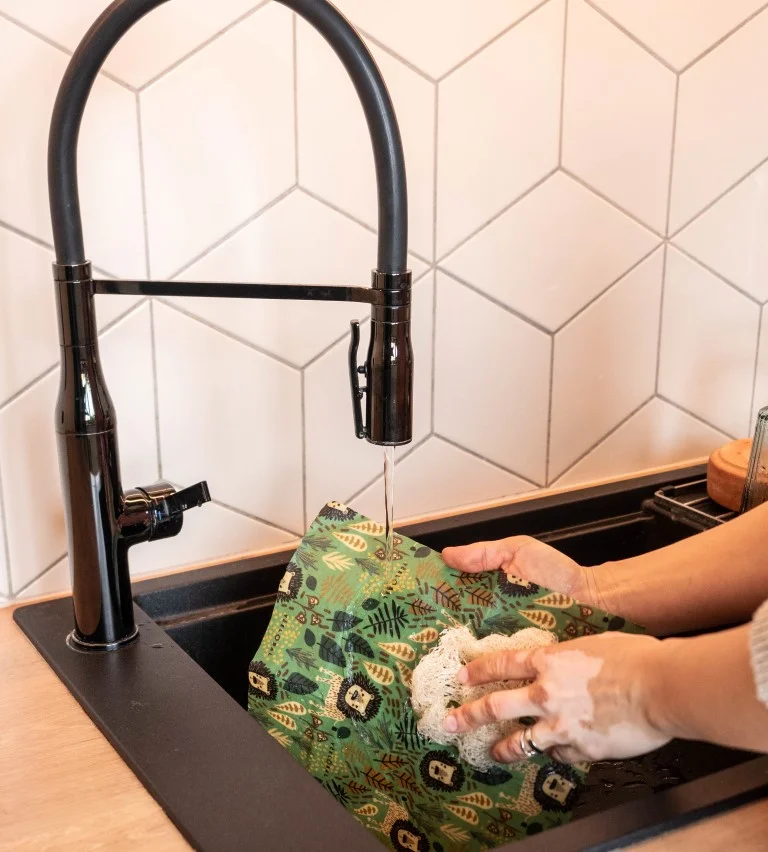
- Wash in cold or lukewarm water, with a little washing-up liquid if needed
- Gently wipe with a cloth or sponge
- Leave to air-dry or pat dry with a tea towel
- Never use hot water (it melts the wax)
What to do if food goes mouldy in the wrap
- Throw the food away
- Wash the wrap in cold water with soap
- Let it dry completely in the sun (UV light has an antibacterial effect)
- You can also put it in an oven preheated to 110 °C for a few minutes
5. Unusual uses for beeswax wraps
Opening jars
Place a wrap over the lid — the wax layer improves your grip and the jar opens more easily.
Travel hygiene
Wrap a toothbrush or a bar of soap in a small wrap. The wax protects against dirt while still letting air through — unlike a plastic bag.
Emergency bottle stopper
Lost the cork from a bottle of wine? A scrunched-up wrap makes a temporary stopper that keeps it fresh.
Proving dough
Cover your bowl of dough with a wrap instead of a tea towel. The wax keeps the moisture in, the dough won’t dry out, and it “breathes” better than under cling film.
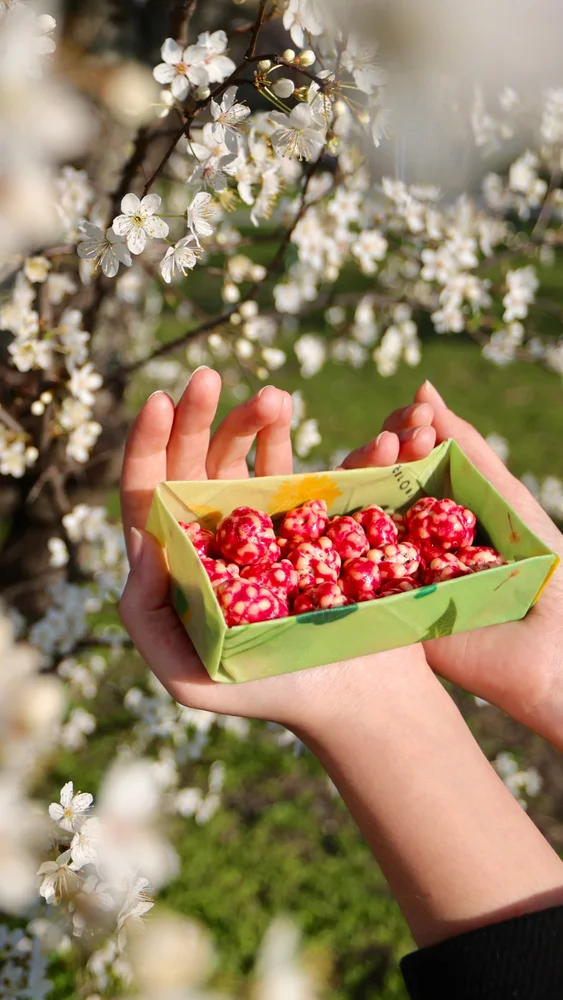
Origami
Fold a wrap into a little bowl using origami.
6. Lifespan, refreshing and end of life
How long does it last
With regular daily use, 10–12 months. You can extend its life by washing it gently and storing it out of direct sunlight.
Signs your wrap is wearing out
- The wax layer is visibly thinner
- The wrap clings less and doesn’t hold onto bowls
- Patches without wax start to appear
How to refresh a beeswax wrap at home
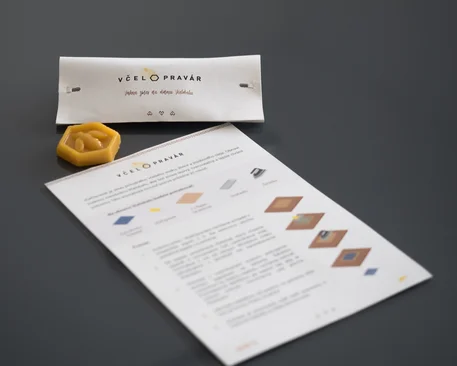
When a wrap loses its cling, you don’t need to buy a new one — just refresh it at home with Waxofix. All you need is the wax blend, a knife, baking paper and an iron.
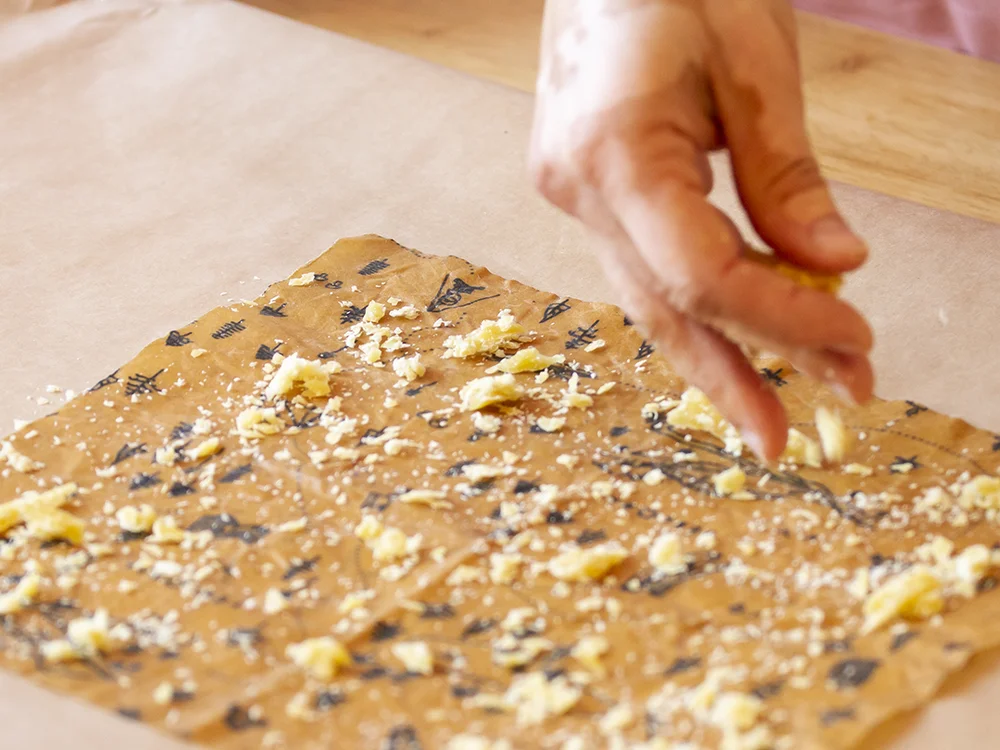
- Cut the Waxofix block into small pieces.
- Wash and dry the wrap — place the clean, dry wrap on a sheet of baking paper.
- Sprinkle the wax — spread the pieces evenly over the wrap.
- Cover and iron — cover with a second sheet of baking paper and iron over the whole surface until the wax melts.
- Peel off and let cool — carefully peel the hot wrap off the paper and let it cool.
That’s it — your wrap is as good as new.
What to do with a wrap at the end of its life
- Compost — cut it into strips and add it to your compost (both cotton and beeswax are biodegradable)
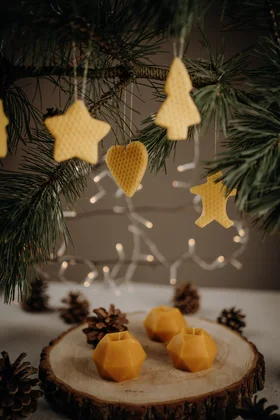
- Fire starter for the fireplace or barbecue — the wax burns slowly and intensely
- Don’t put it in the plastic recycling
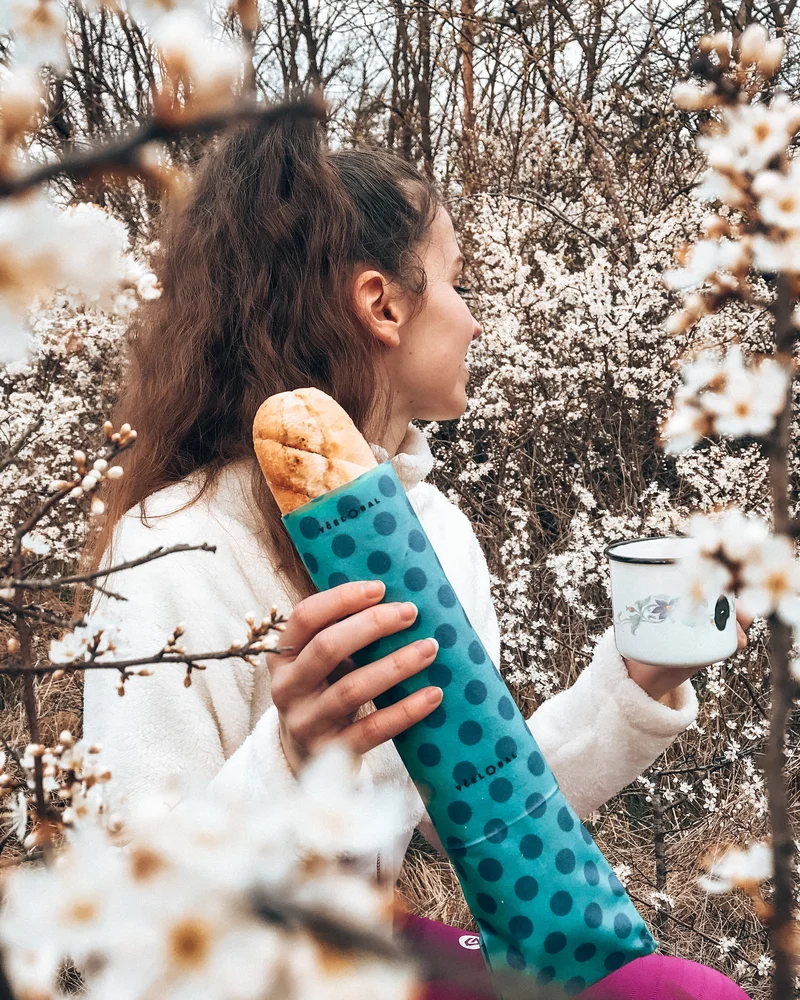
In short: a beeswax wrap is a simple, practical and eco-friendly replacement for cling film. You just need to know what to wrap, how to clean it and when to refresh it. With a little practice, it will become a natural part of your everyday life.