


Waxopack restoration instructions
As you may know, Waxopack is not a disposable food packaging. Taking care of our products does not end with their sale, on the contrary, we offer you detailed instructions on how to keep the packaging in good condition.
Our goal is really to make one packaging last as long as possible. Thanks to honest cleaning and occasional waxing, one wax napkin can last for several years of use. Don't believe it? Try the Waxopack restoration kit, the entire restoration will not take more than 20 minutes.
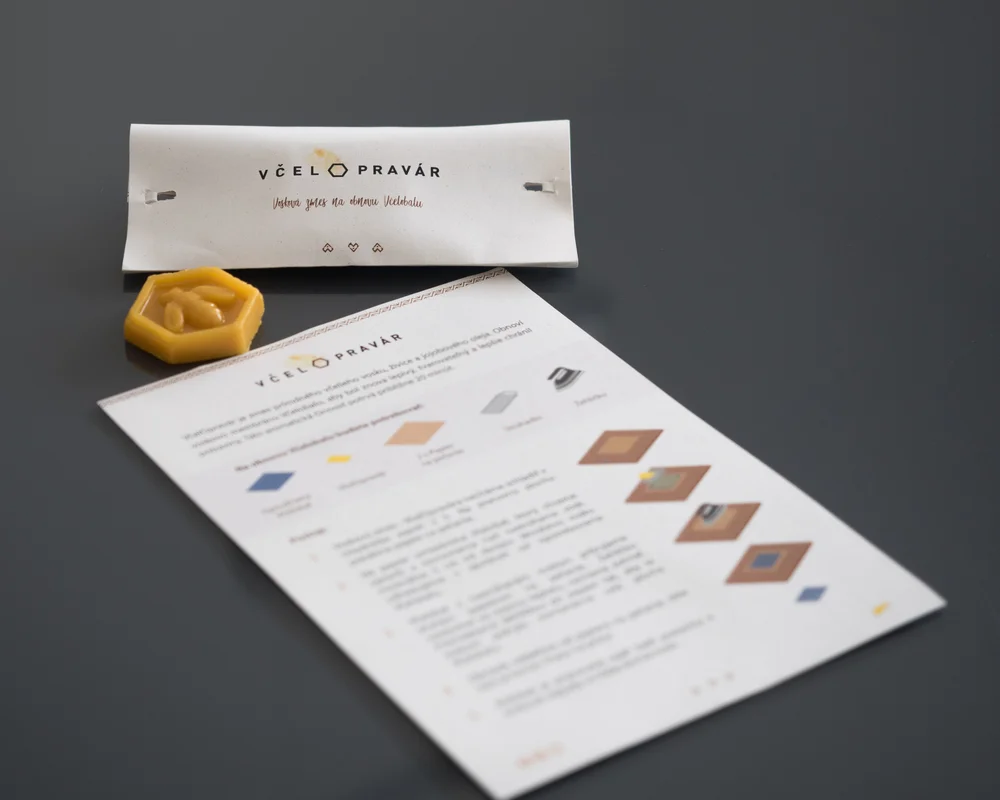
To rewax Waxopack you will need:
Waxopack restoration kit - wax mixture
Knife
Iron
Pad or baking sheet
2x Baking paper
We have prepared wax intended for the restoration of bee packages and we have named it Waxopack restoration kit.
 Postup obnovy voskového obalu
Ironing Repair
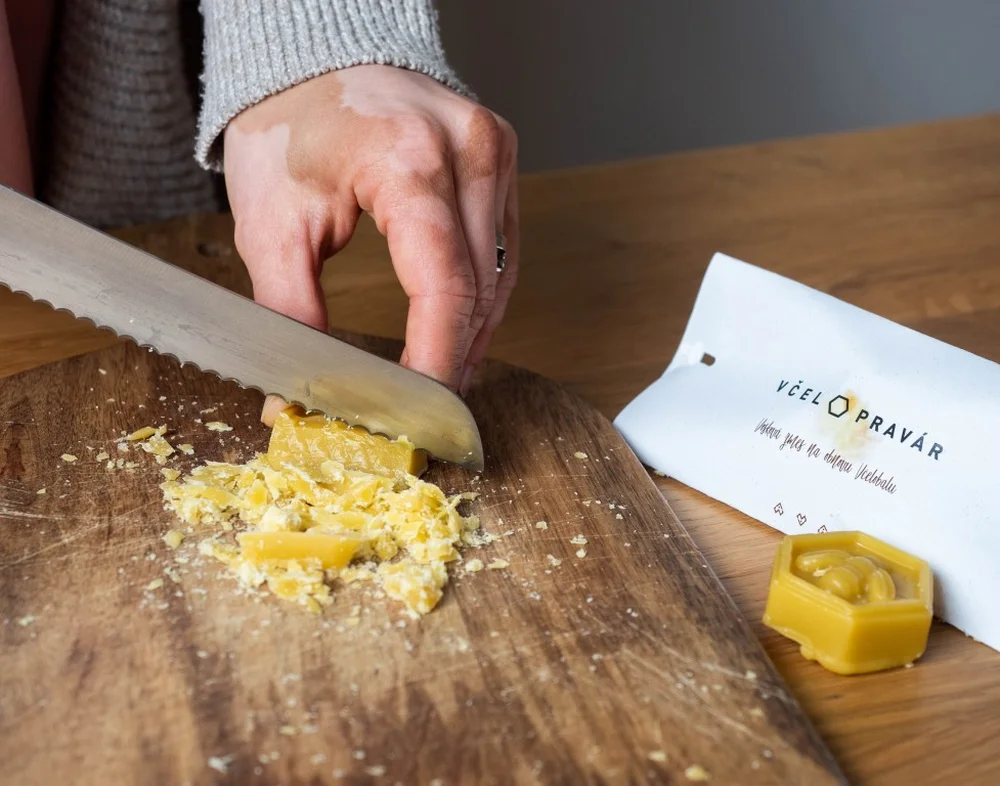
1. Chill the bee repairer in the refrigerator for at least 2 hours. The hardened wax will be easier to grate or cut into small pieces.
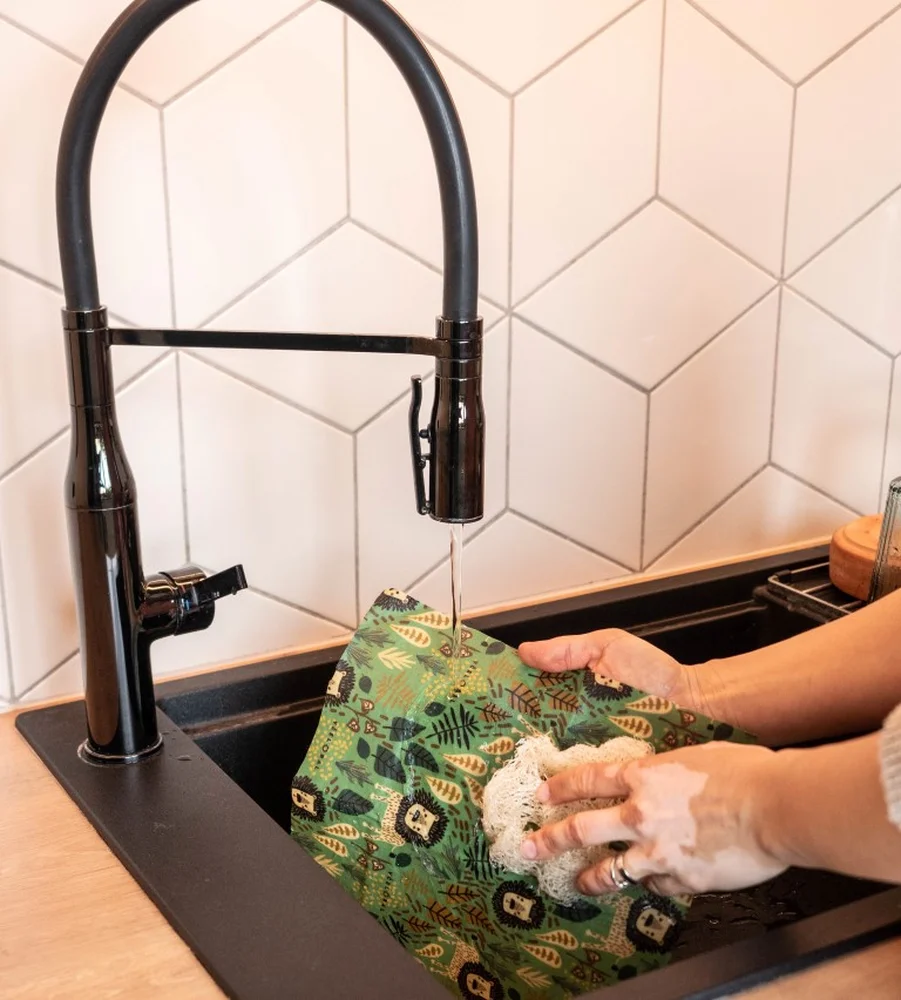
2. Wash the used beekeeping bag thoroughly in warm water.
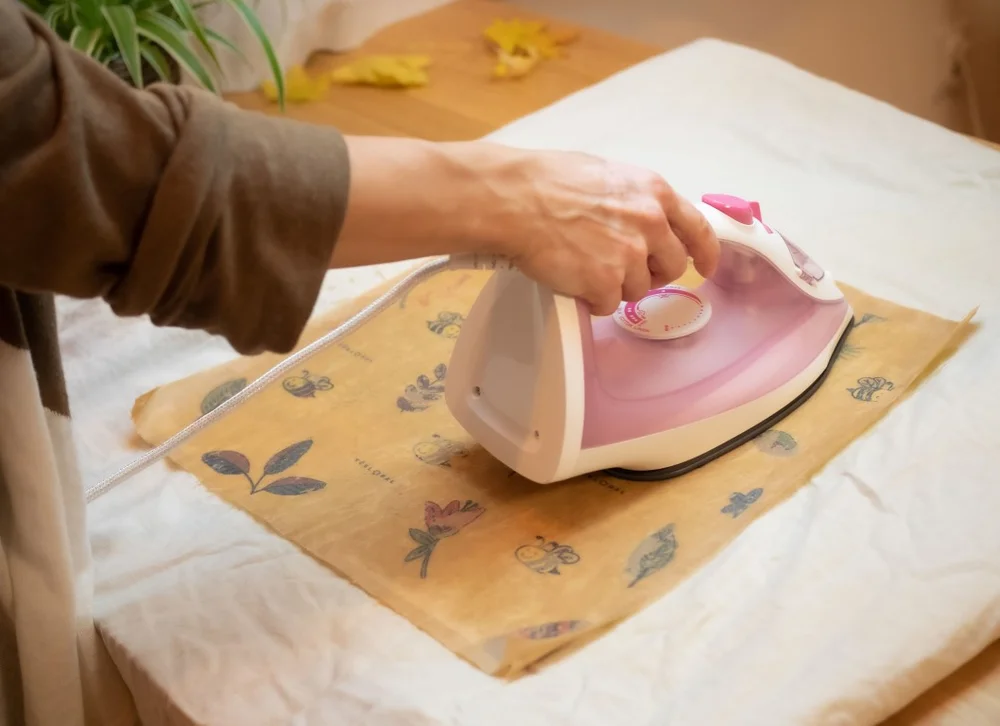
3. Place baking paper on the prepared work surface and place the dry Beeswax on it. Sprinkle the wax pieces evenly. Start with a small amount of wax, adding more later if necessary.

4. Cover the Waxopack with the wax crumbs with a second sheet of baking paper. Set the iron to a moderate temperature and let it heat up. Run the iron over the paper so that the entire surface of the Waxopack is evenly covered with wax.
5. Separate the napkin from the baking paper while it is hot and air dry!
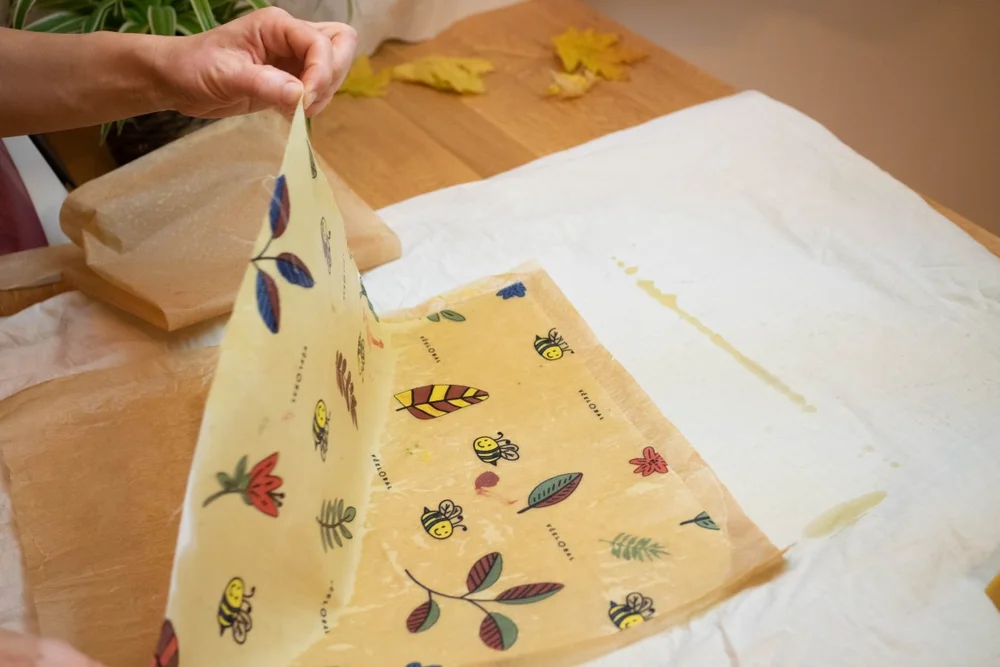
Waxopack is ready to embrace your food to keep it fresh for as long as possible. Thank you for taking the time to restore your wax packaging! We would be very happy if you would write us your restoration experience in the comments.
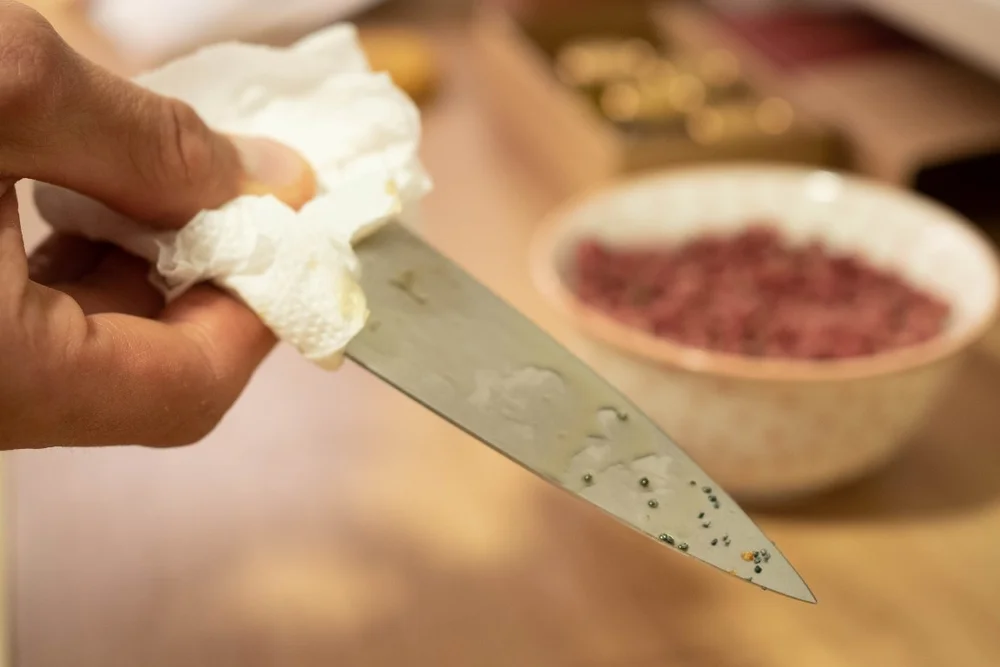
PS: A final trick.
As you work, the wax will stick to all the utensils. The wax will come off easily if you let the knife warm up in the oven for a while or pour boiling water over it. Then just wipe the melted wax with a cloth.
Repair in a hot air oven
If you don't have an iron at hand, you can also restore the Beeswax wrap in the oven. The preparation of the used wax wrap and wax is the same. Then heat the oven to 200°C. Place the Beeswax wrap on baking paper, place it on a baking sheet so that it does not touch the walls of the oven.
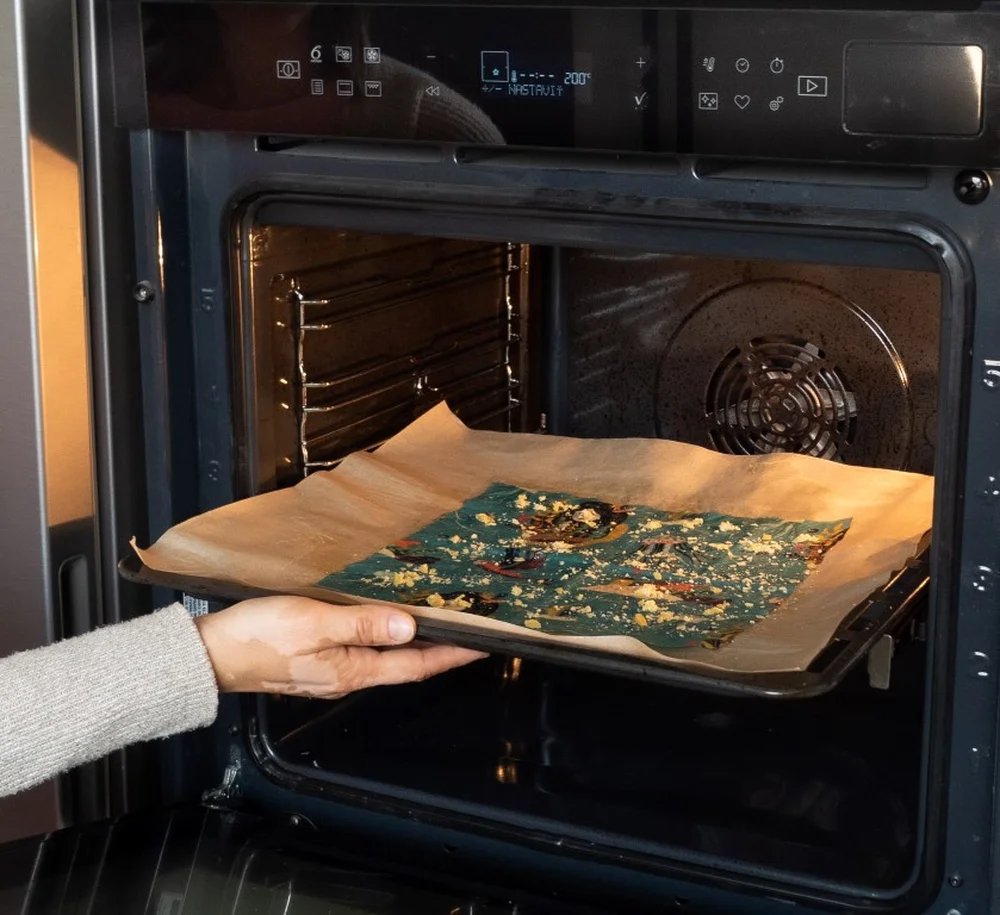
Place the sheet in the oven and watch the wax melt to remove it in time. We do not recommend leaving Waxopacks in the oven for more than 5 minutes, as the combination of wax and cotton is flammable!
For a demonstration, watch our video:


